1999
December - it's catching
Now its 'Bee's turn to have starting problems. I keep her road-ready all year round and if a sunny Sunday comes round where the road is dry and salt-free she gets an outing no matter what time of year it is. Failing that once a month I give her road-wheels a quarter-turn and run her on fast-idle (wedge under throttle-pedal stop,
not choke knob). November was a non-running month so in early December I went to start her up but the battery was flat. Charged it up and got her going,
but next week it was flat again. This has happened before,
in September,
and I could detect some leakage via dampness on the battery tops. Cleaned,
dried and Vaselined everything and she was fine for a couple of months till now. The batteries are the type with exposed links between the cells so I have been able to check the individual cell voltages. This time one cell on one battery is way down,
and one on the other battery part down,
so it looks like new batteries for the spring. Still,
they've done five and a half years and given me no trouble till now.
November - It's 'starting' to bug me
'Vee' has had a series of 'bad connector' problems just lately - ignition intermittently cutting out,
electric fan relay failing to operate,
and even when it did only one fan was running,
culminating in the starter (if that is not a contradiction in terms) solenoid intermittently chattering on cranking. All a bit wearing because 'Vee' is my daily driver. However I think I have now bottomed them all out and found a good reason for each - so much better than changing parts willy-nilly and just hoping.
The ignition problem was caused by what looked like an original crimp being left on a wire when a new spade terminal was crimped on (PO) - I could just visibly see the inner crimp moving around inside the outer one. This was undetectable with an ohm-meter,
but it was when I used a volt-meter with the circuit on load and saw a volt-drop where there shouldn't have been one. I suspect this looseness had been caused earlier in the year when the fan-belt was starting to unravel and a loose end wrapped itself around this wire and yanked it off the coil twice within a couple of hundred yards before I spotted the loose end.
The fan relay failing to operate was caused by the wire having broken off the connector at the Otter switch. I suspect this was my fault for resting a volt-meter on top of the engine while I had been looking for the 'chattering solenoid' problem.
The one fan not working was caused,
I suspect,
by one of the pins in the two-way connector at the fan being not pushed fully home and could have happened at any time. I opened up both connectors,
made sure all the pins were fully home and although both were clean inside reassembled them with Vaseline as they are right in the path of the water,
dirt and salt that comes through the grill.
The chattering solenoid seems to have been due to the wire gradually corroding away from the connector at the solenoid spade and getting higher resistance,
until the solenoid would operate but once the normal volt-drop that occurs during cranking had taken place there was insufficient current to hold it in. The engine always cranked and started while this had been happening,
which was why I was fairly sure it wasn't the battery or heavy current cable. However I made some very strange voltage readings in the starter relay/solenoid circuits while it was happening,
and although it has been fine for the past two weeks I can't say I'm totally confident yet. We shall see.
4-star leaded seems to have vanished from my local forecourts now,
but 'Bee' still has half a tank - plus five litres in the carry-can - so I should have until the spring to finally make up my mind whether to go for LRP (ease of use,
same octane as 4-star leaded,
but only half the quantity of lead-replacement chemical) or an additive (full dose of lead-replacement chemical,
potentially tricky to measure out on the forecourt,
and not all of them have an octane-booster).
October 31st - Halloween
After our usual tele-visual visit to 'Aidensfield' this evening (see July 1995) we watched 'Several Careful Owners'
a series of short programmes each re-tracing the history and owners of an old car. This week was a Bristol 404 which had been owned by one chap at least three times. This chap was a Bristol nut,
none other than the owner of the field full of Bristols I came across when looking to buy my first MGB (see Bee's Story). I just hope he makes a better job of his Bristols than whoever had done the MGB I didn't buy. After that we were flicking round the channels and landed on a programme set at Lindisfarne/Holy Island (July 1998)
then one set in Venice (July 1999,
no MG-ing) and finally a news item from Nantucket (September 1996)! Spookyyyy.
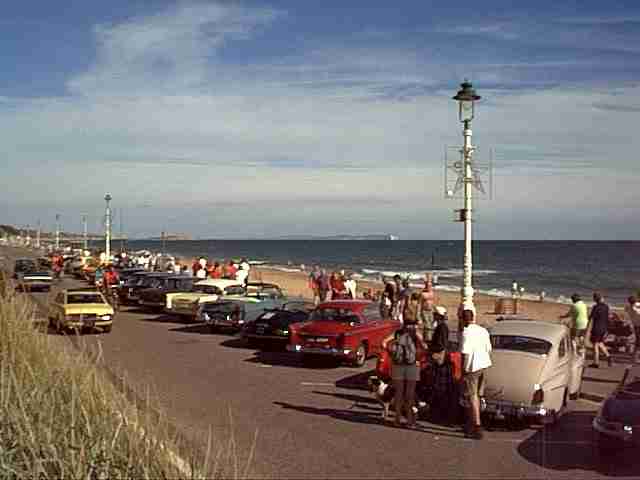
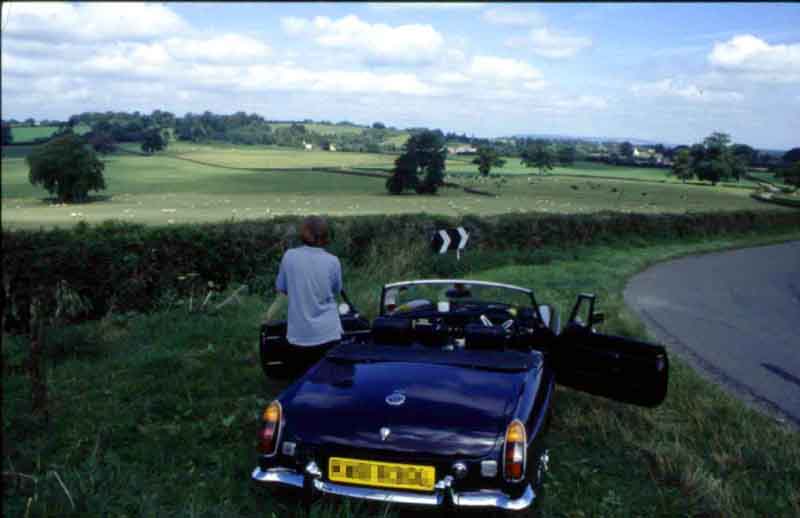
September - Inaugural Bath to Bournemouth Run
|
Only a week after replacing the axle saw us on the Bath to Bournemouth run. I had double-checked all nuts and bolts and had a couple of short drives but you just can't help wondering ... Needn't have worried,
we drove down to Bath on the Saturday,
did the run on the Sunday,
then drove home on the Monday. Three days and 400 miles of dry,
sunny,
top-down weather. Brilliant,
and for England in September,
quite rare. Time for a re-check of all the nuts and bolts on our return - I just can't believe that I didn't tighten the rear prop-shaft bolts,
nor double-check them,
but they were all loose. I'm just going to have to put some more miles on the car and check them again. : ) (I've since been advised that this can happen if the flange on the prop-shaft is not exactly in alignment with the one on the diff when the bolts are tightened.)
So,
that's it for the organised runs for this Millennium. The weather has turned wet and windy now,
so it remains to be seen how many Sunday morning runs I can manage through the winter months.
|
September - MG Heaven!
Since the beginning of the year a number of jobs had been stacking up on both cars,
but I needed some time off work to do them - easier said than done. Got my opportunity in the first two weeks in September. The bonus was that the weather was glorious - got a good tan,
and what with the heat and physical exertion,
lost half a stone in weight.
The first job was to replace the brake m/c and all the clutch hydraulics on the V8. I discovered the brake m/c had a pinhole in the top the last time I bled them with a Gunsons Eezi-bleed - and wondered where all the fluid was coming from. The clutch m/c was leaking back,
and I decided to change the flexible and the slave while I was at it. Having read many times that the clutch is a real pig to bleed I decided to try filling the system from the slave rather than the m/c,
with great success,
getting full travel in just five minutes and no bleeding required. See Clutch Bleeding for the details. The brakes were not so easy. Used the Gunsons but still had a spongy pedal. Next day got my wife to stand on the pedal while I snapped the bleed nipples open and closed and all was well.
Also on the second day I replaced the needles and jets on the V8 HIFs. It has tubular manifolds and K&N filters and has always had flat spots at higher speeds,
even when the idling CO exceeded the limit. Since I cleaned and re-oiled the K&Ns it had got much worse. I used my list of needles to select one (BAK) with the same idle dimensions but narrower (i.e. richer) dimensions elsewhere. The difference is amazing - pickup is now what it should be plus it is within limits for idle CO.
Days 3 to 5 saw me tackle the replacement of the back-axle on the roadster.
Week 2 saw me back on the V8 again - replacing the RHS lower rear quarter-panel where it covers the sill. This is one of the worst places for rot on the MGB, the two panels are so close together it is difficult to get Waxoyl between them. (I had to replace the same panel on the roadster when I restored it in 1990 and despite copious applications of Waxoyl from behind the trim panels on both sides, the other side is beginning to go through now). I was a bit concerned about what I would find behind the panel but apart from some light surface rust on the hidden part of the sill all was very sound. More info on replacing these quarter-panels here.
I have always hosed under the wings and wheel arches of my cars to prevent a build up of damp, salt-laden mud ('Vee' is my daily driver) and had been a bit concerned about lumps of rusty underseal that had been dropping out of the rear wheel arches during the year. The underseal was of the kind that breaks adhesion with the painted metal then just serves to trap water, so I decided to scrape it all off both arches - wondering if I would find rot-holes. I was amazed to find that, for the most part, under the flaking seal was original paint, over factory underseal, over fawn primer, over solid shiny metal. Only about 10% of the surface showed rusting, and although quite scaly in a couple of places it was perfectly solid. Painted on two coats of Trustan 23 rust converter, one coat primer, then two coats Waxoyl underbody seal. I am glad to have got rid of the rusty panel, and there was much less corrosion of adjacent panels than I had feared. Must try and get round to the bonnet/hood sometime. It is a replacement panel (a PO collected a jogger) with very poor paint adhesion and has chipped down to the metal very badly.
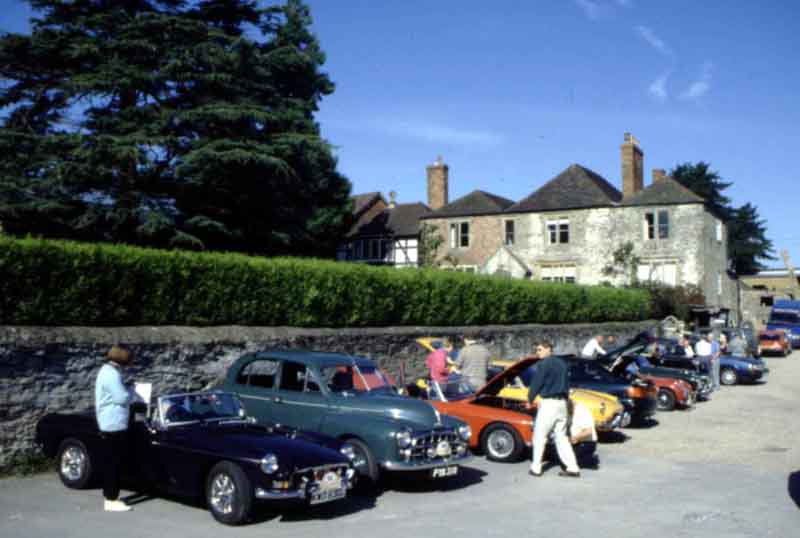
August - Cider Chase,
Herefordshire
|
Meeting point was Weston's Cider at Much Marcle on a glorious,
warm and sunny day. Bought some more 'Old Rosie' scrumpy and 'Marcle Millennium' to take home (I do like a drop of real cider). More fiendish clues from Malcolm to spot along the way,
with 'Hammer and Spanner' bringing up the rear in the Transit. Called in at cider farms Dunkerton's and Franklins - Malcolm promised an extra five points if we brought him 330 Litres of 'Franklin's Medium Dry'. We passed on that,
not having room for 330 Litres. Turns out he meant 330 milli-Litres,
of course,
i.e. one bottle.
|
June - Arden Run
|
Commencing with steaming mugs of tea and bacon butties as is now traditional,
the day was marred by rain for virtually the whole run to Hook Norton Brewery. The brewery is a commercial operation but is also a piece of industrial heritage as most of the equipment in use is around 100 years old. I'm not really a 'bitter' man myself,
but the 'Old Hooky' (bought to drink at home) was just my 'cup of tea'.
|
May - Inaugural New Forest Run
|
Made a long weekend of it,
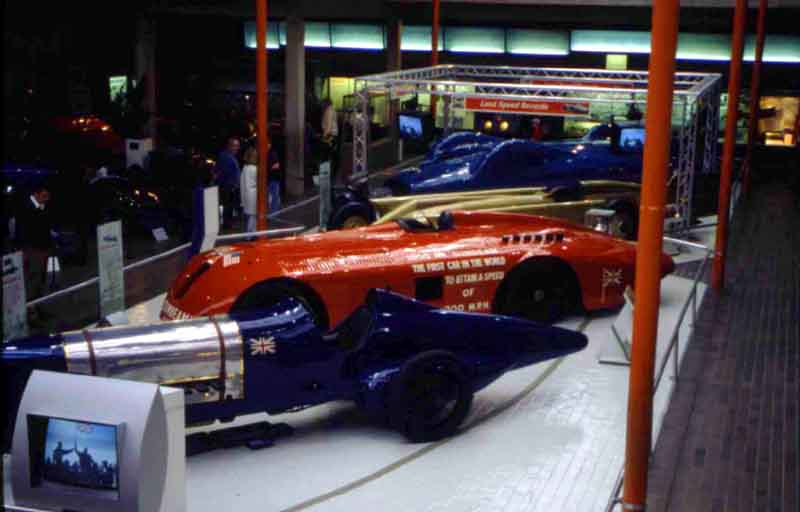
driving down on the Saturday (very warm) and visiting Beaulieu (pronounced 'Bewly',
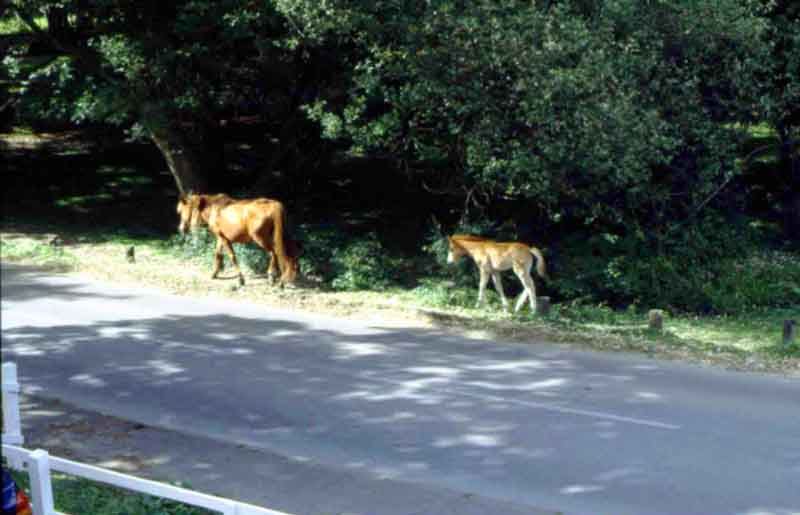
as ancient documents displayed in the house will testify!). An unusual driving hazard in the New Forest is that it is the largest unfenced area in Britain,
and cattle,
sheep,
deer and ponies roam at will. It is amusing to see many houses with cattle grids on the drives to keep the animals out of the gardens. The hotel we stayed at was right in the forest and we had ponies with foals right outside the bedroom window. The run itself was cooler and cloudier,
but pleasant enough for all that. The finish was at the Marina in Southampton,
a bit of a culture-shock after the peace and tranquillity of the Forest villages,
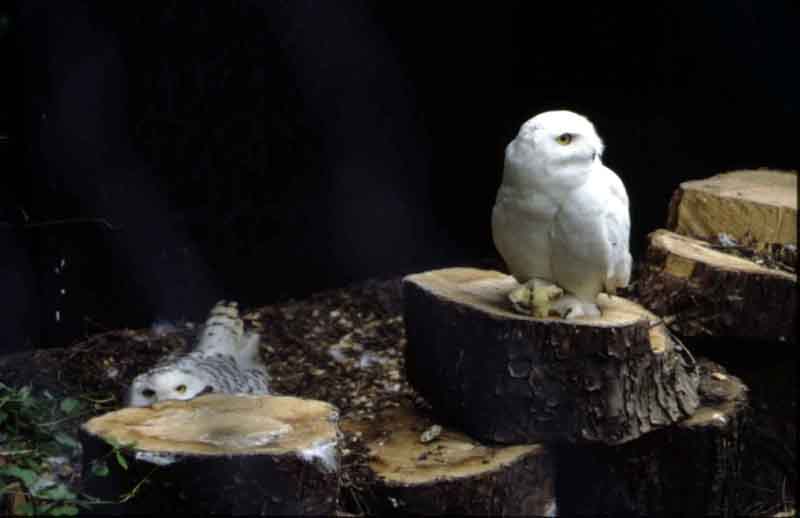
which seem right out of the 1950's. We also came across an owl sanctuary right on our route near Ringwood,
so stopped off for an hour - Navigator's perk.
|
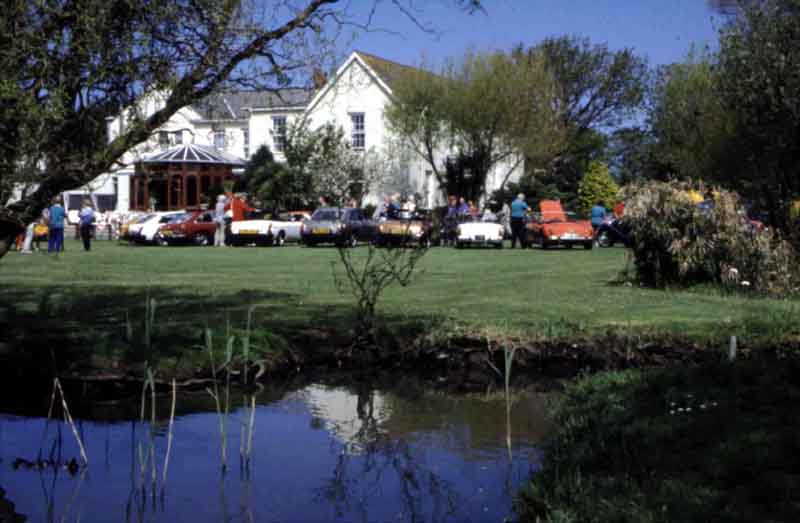
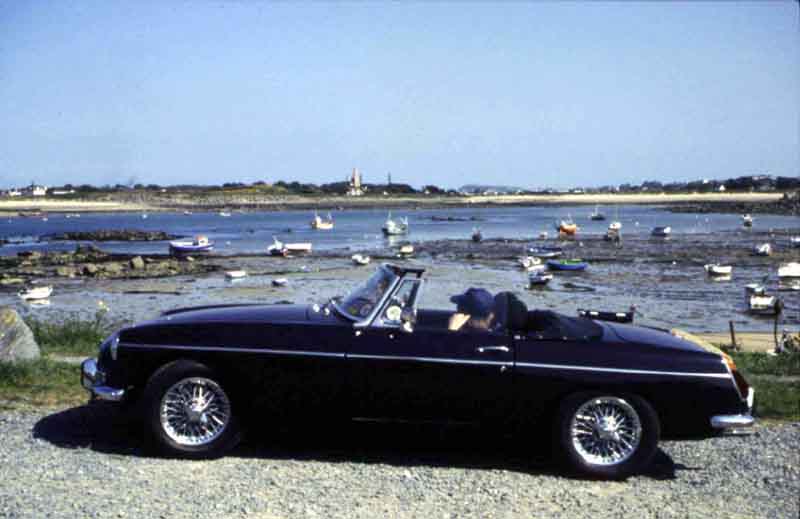
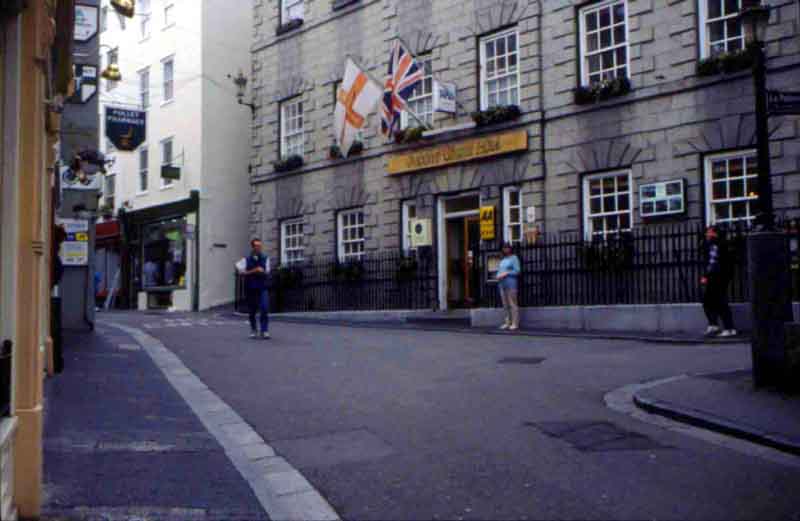
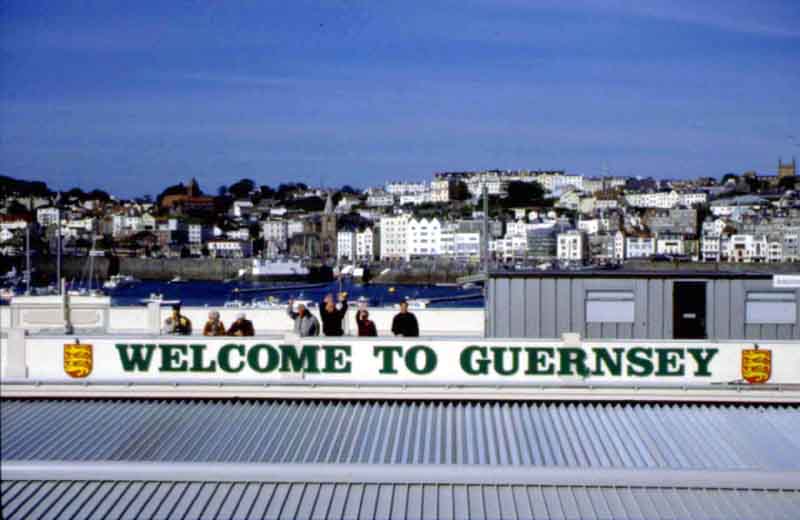
May - Guernsey MG Rally
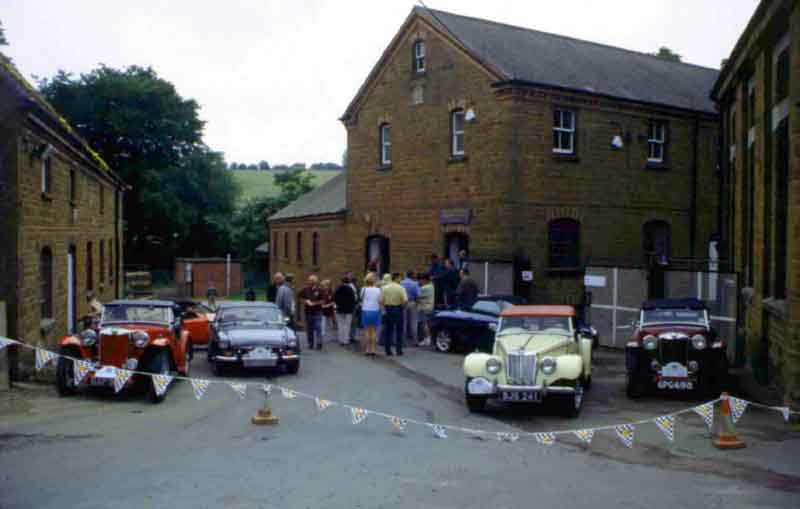
April - Kimber Run
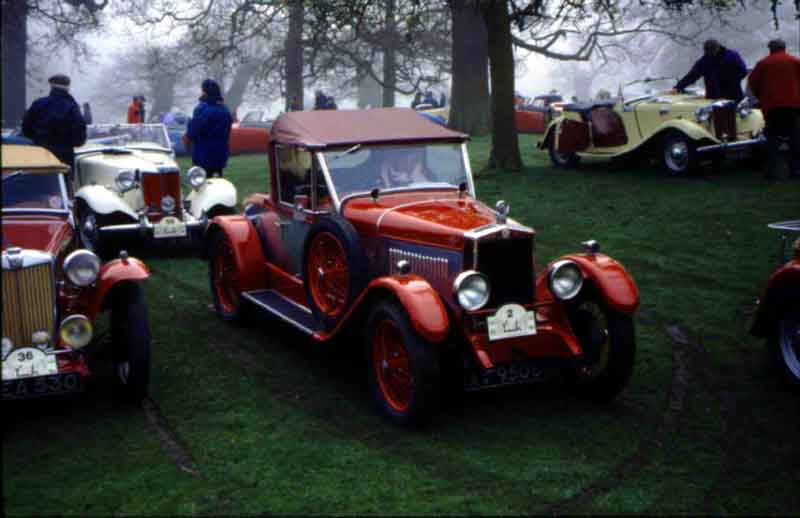
|
This is the 12th and final Kimber Run in the present format as Geoff Shirt is parting company with all things MG for personal reasons. From humble beginnings in 1988 with 38 cars and one route to celebrate the centenary of Kimber's birth on April 12th,
and intended to be a one-off,
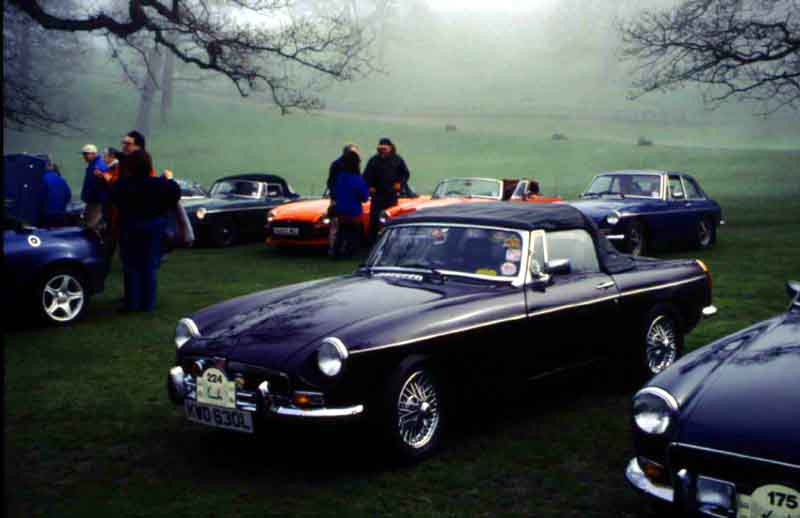
it has grown to be one of the largest MG runs in the world. This year's run had over 350 entrants,
and in order to limit the traffic congestion in what is the Peak District National Park,
Geoff had devised three routes,
each run in both directions. That's six different route books to produce! Not only that,
Geoff organises a charity dinner on the Saturday night (raising an estimated Ł10,
000+ over the years),
and occasionally has organised a trials event for the Saturday as well. Geoff deserves a medal,
and our grateful thanks,
for all he has done for MG-dom.
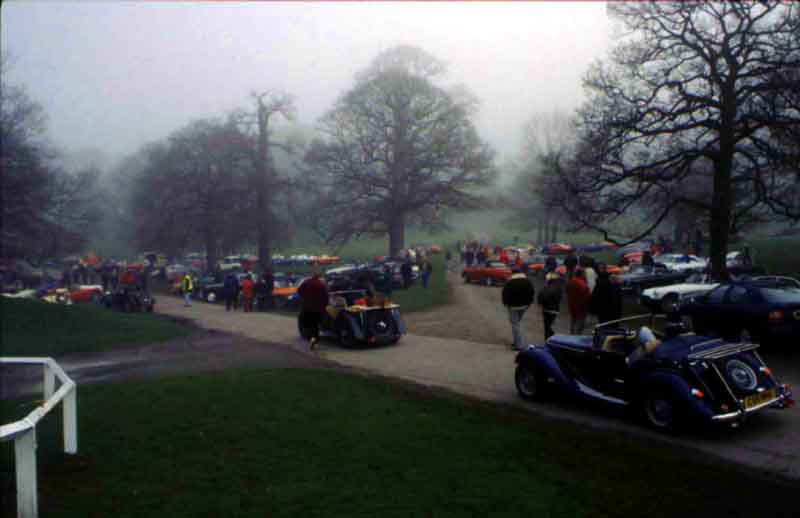
We left home in sunshine with the hood down,
then it became frosty,
then misty. At that point the hood went up,
but came down again before we started the run proper,
which was pretty-well all sunny. The main stopping point on our route was Caudwell's Mill. A water mill,
but one with a difference. It was built as an industrial process over 100 years ago and instead of the water turning a large stone,
which only produces one grade of flour,
there are a set of milling machines and filter tables producing a whole range of grades of flour for a variety of purposes,
from the finest baking to animal feed. The mill was owned and run by the same family until it closed through commercial pressures a few years ago,
since when it has been restored and re-opened as a heritage site. The filter tables are amazing - they are about six-feet square,
suspended from the roof by a set of rattan canes,
and swung in a circular motion by an eccentric shaft. Believe it or not 90% of the rattan canes used to suspend the tables are original,
i.e. over 100 years old!
|