
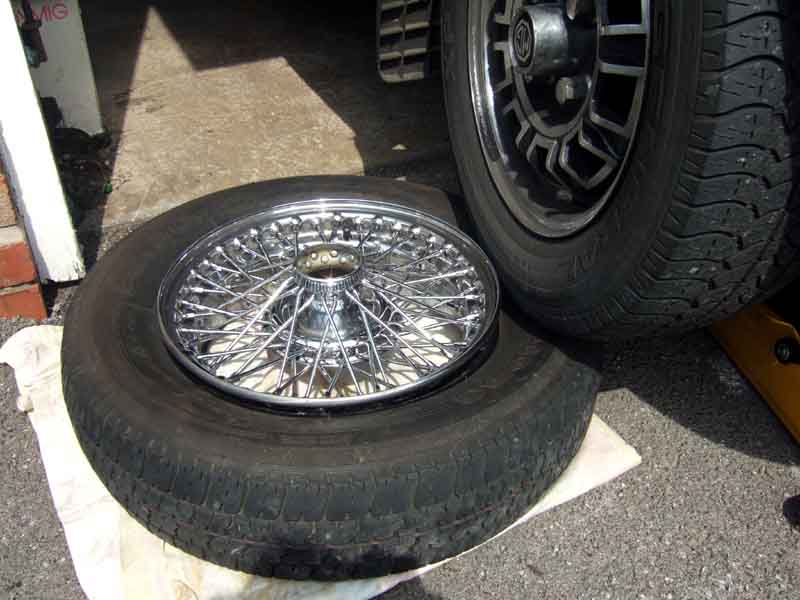
Jacking down the V8 wheel (or any other car for that matter) on the sidewall of the deflated wire wheel to break the bead. Lay the wire wheel on some thick padding to prevent damage to the edge of the inner rim.
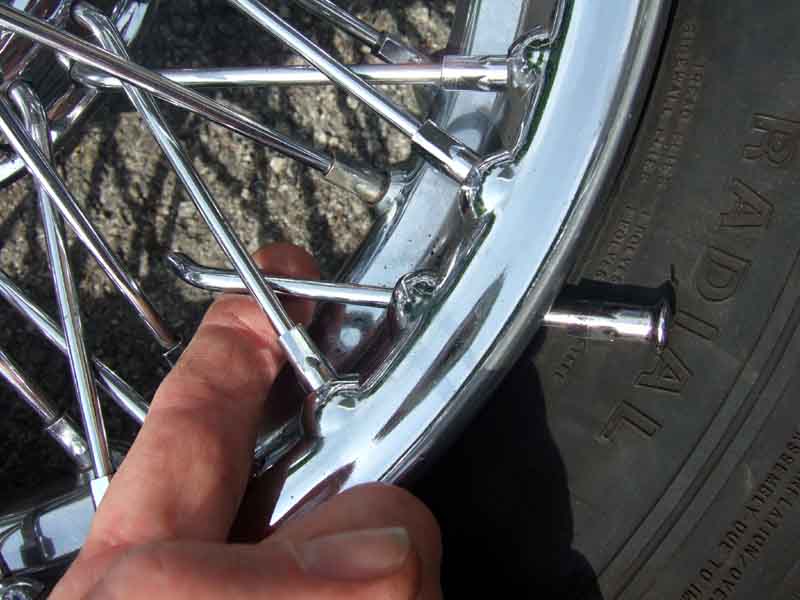
Removing the broken spoke complete with nipple through the rim, the tyre sidewall is easily pushed out of the way with hand pressure.
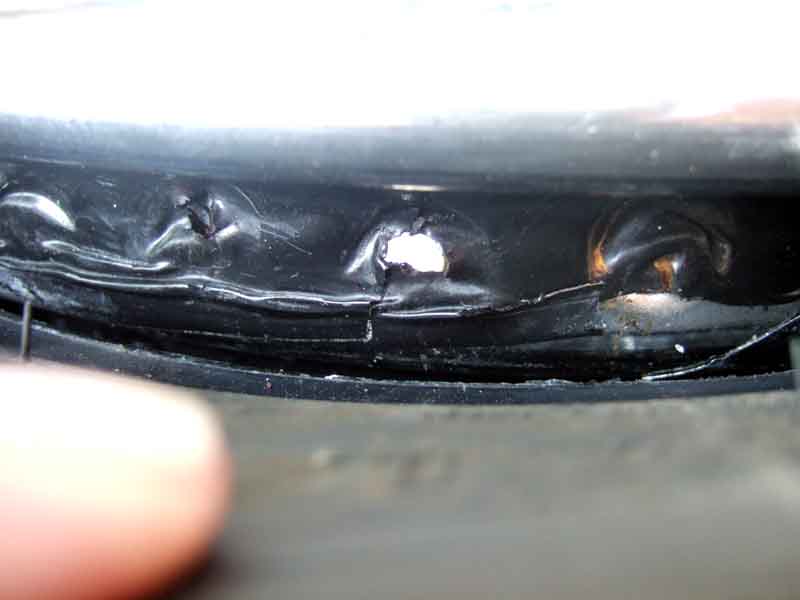
The protective tape over the nipples of the short spokes at the rim, this is superfluous as the tyre bead covers them and prevents the tube from coming into contact with them. Damage to the tape when removing and replacing the nipple can be ignored.
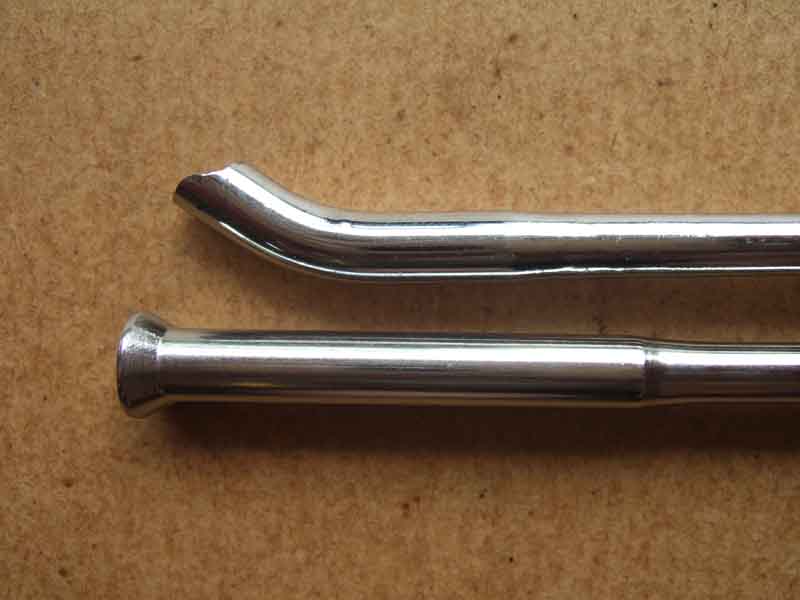
A broken chrome spoke (top) and sample polished stainless from Central Wheel Components - virtually indistinguishable (in finish, the stainless is a sample hence no bend at the butt).
The spoke spanner from Central Wheel Components - six different sizes in two jaws, but the biggest (No.1) has to be opened out very slightly for the nipples on my Dunlop wheels.
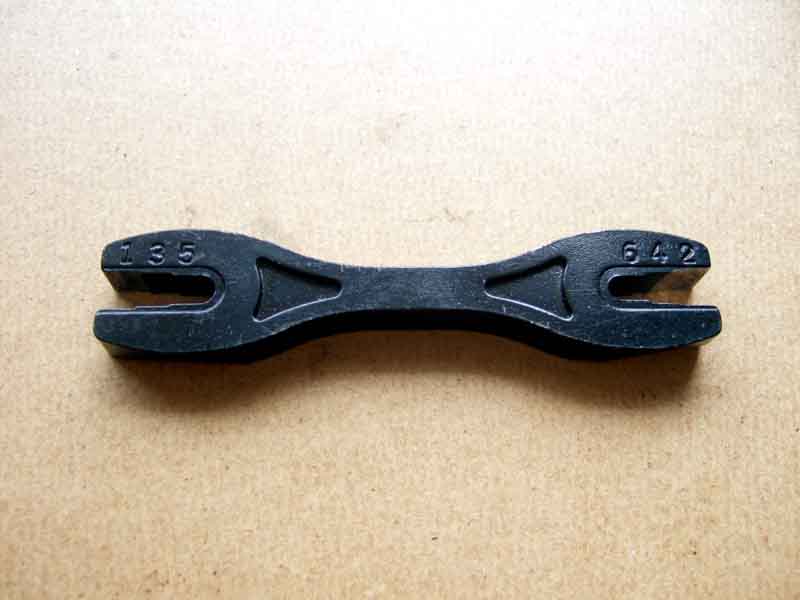
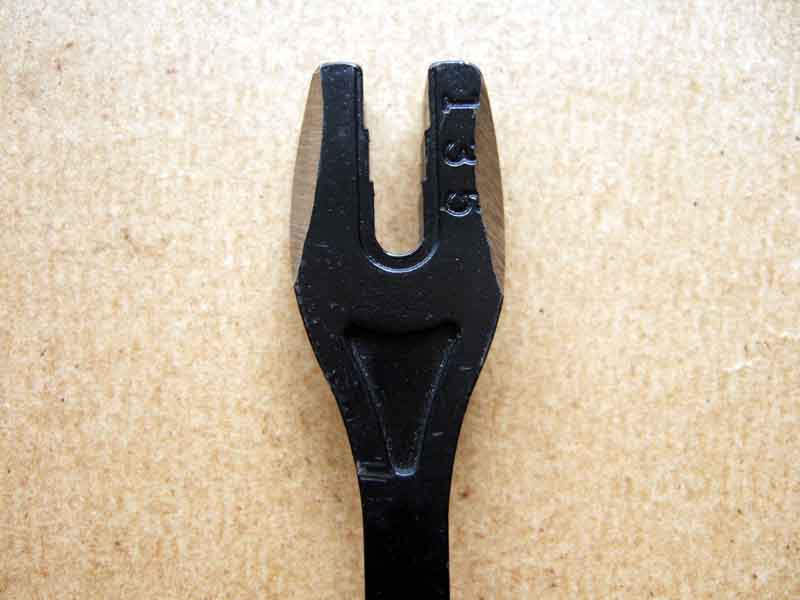
The outer edges ground back slightly to allow the spanner to be swung 90 degrees when adjusting the nipples as they only have four flats.
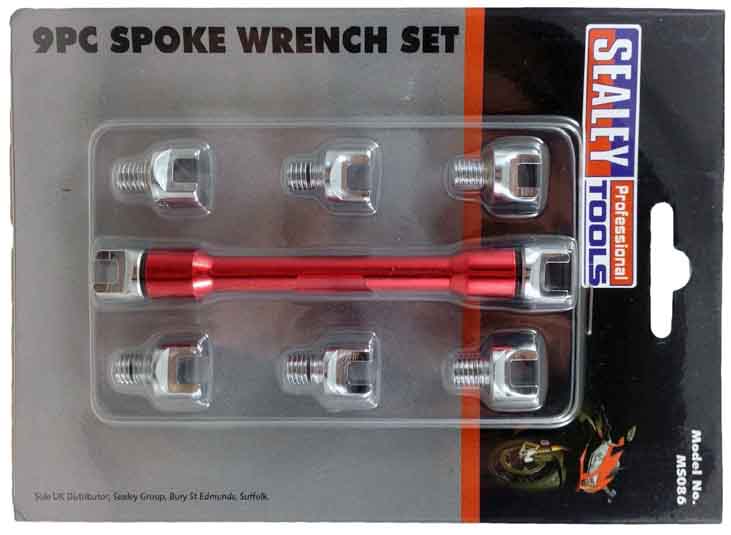
Subsequently I buy a 9pc Sealey set. The nipples vary slightly in size, one jaw is a snug fit on some but needs the next size up for others, but as the handle is double-ended that's no problem. The jaws are deeper than the earlier spanner so grip over a wider surface, and externally are narrower so can be swung through a full 90 degrees without modification.
New spoke (centre) compared to the original sample (top) and broken chrome. When received they were slightly duller than the original sample, but a few moments with some Solvol Autosol brought them up. No problem with individual replacements as I'm doing, but not something you would want to have to do if respoking four wheels!

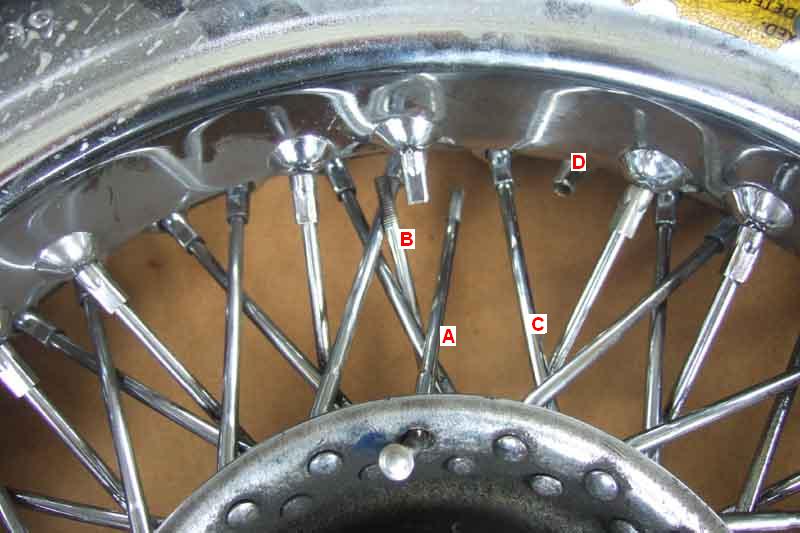
Inserting the new spoke (A). When the thicker butt reaches the hole in the hub the upper end fouls the long spoke (B) to the left of it (circled) and can't be inserted any further.
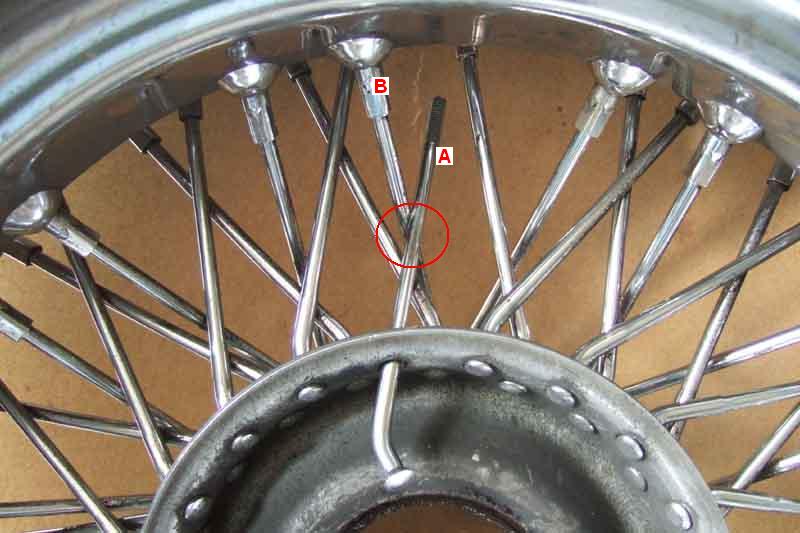
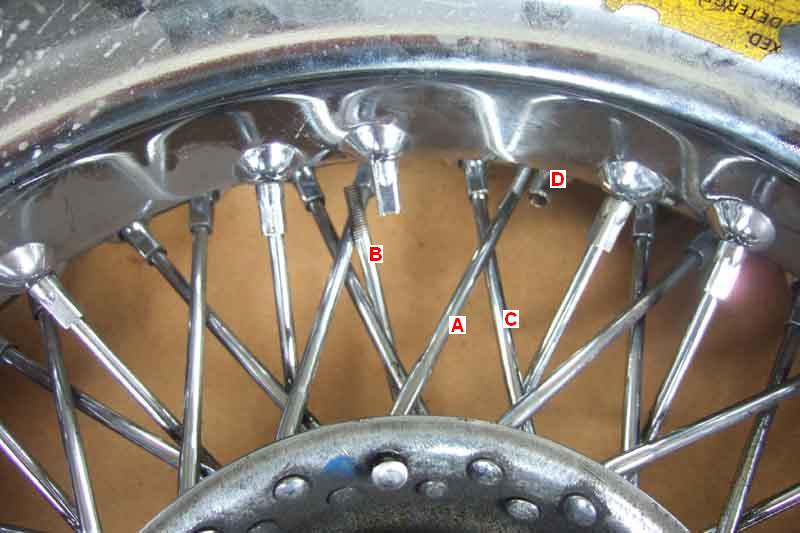
The long spoke (B) unscrewed and swung out of the way. This allows you to push the new spoke (A) all the way in, however this has to be on the wrong side of the short spoke to the right of it (C) as shown here, as again the butt prevents you pushing the new spoke directly towards its nipple (D).
Once the new spoke (A) has been pushed in most of the way it can be swung past the short spoke to its right (C). Take care when doing this to prevent the rough end of the new spoke from marking the chrome of the rim. Update May 2009 First broken spoke since May last year. This time even after I had removed the long spoke I still couldn't swing the new spoke (A) past the short spoke on the other side (C), so had to undo that as well, not sure yet why this time should have been different. Update June 2009 Had to replace another after our New Forest and Dorset trip but this time I could swing the new spoke into position without having to remove spoke C first. They do only just go in, the end just clearing the rim, so maybe it is a matter of length - slightly longer ones not going in. I'll check before polishing next time and cut down the threaded end slightly if needs be, rather than having three spokes loose all at the same time.
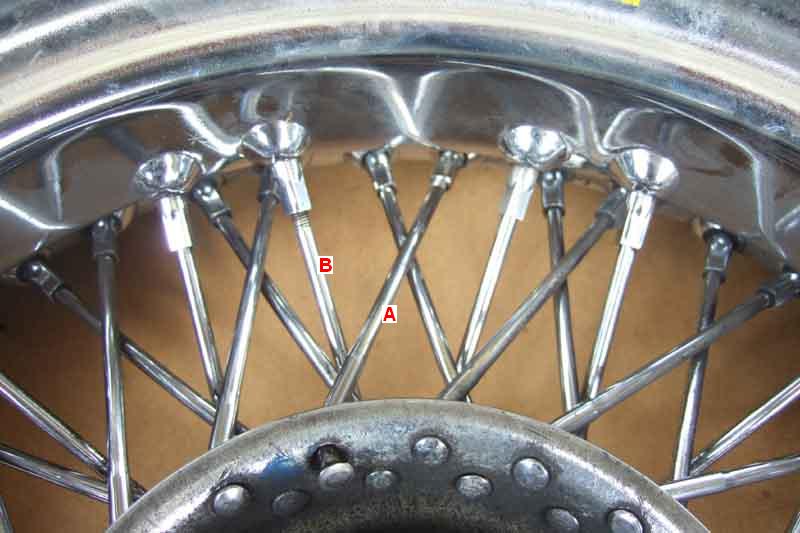
New spoke and long spoke fitted to their nipples prior to tensioning.
Old but good chrome nipple on the left, and new distorted stainless on the right.
