
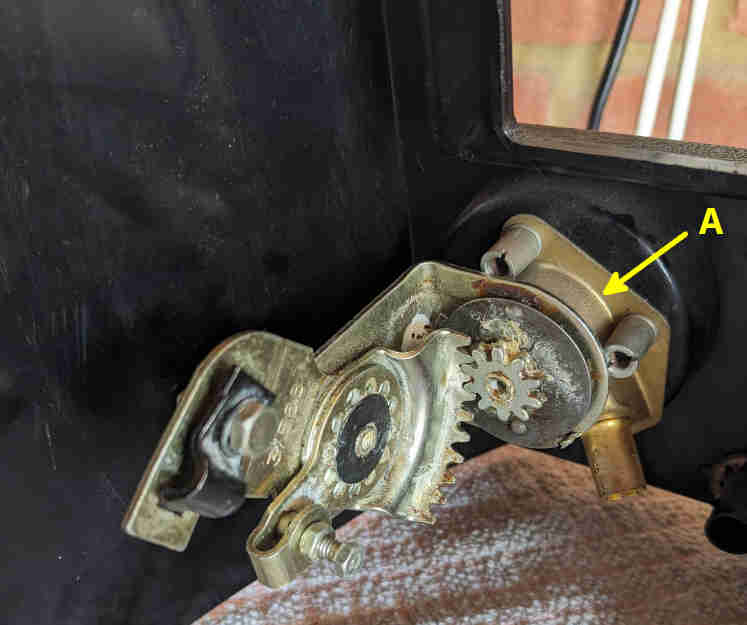
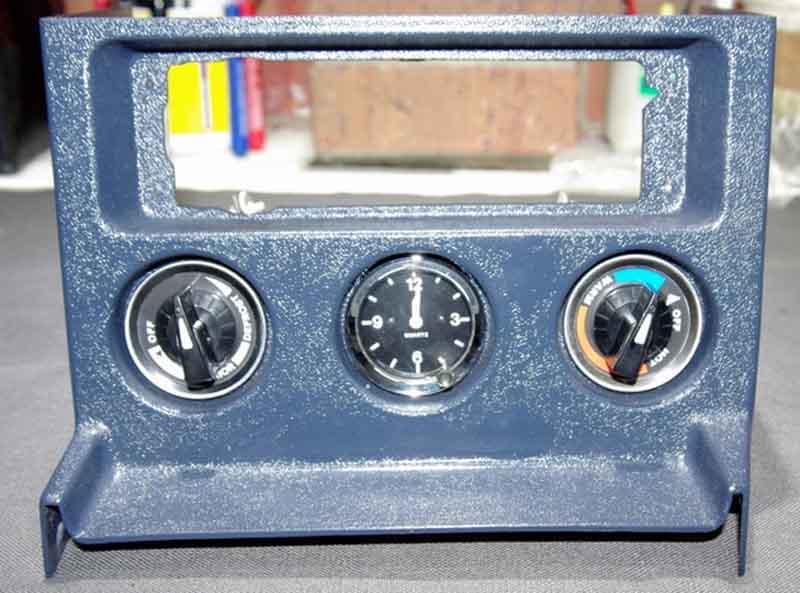
The plate has the location holes for the pips on the control itself, and also explains why the fixing nut is deeply recessed on the console compared to when mounted on the dash. The normal position of the dial and controls is with the 'OFF' legend at the top and the 'arrow' on the knobs pointing to it when the water valve and air flap are closed.
The original arrangement - 'OFF' uppermost:

John Maguire in Australia found the original positioning and routing of the console-mounted heater controls and cables led to them being stiff and has re-positioned the controls and rerouted the cables by cutting additional holes as follows:
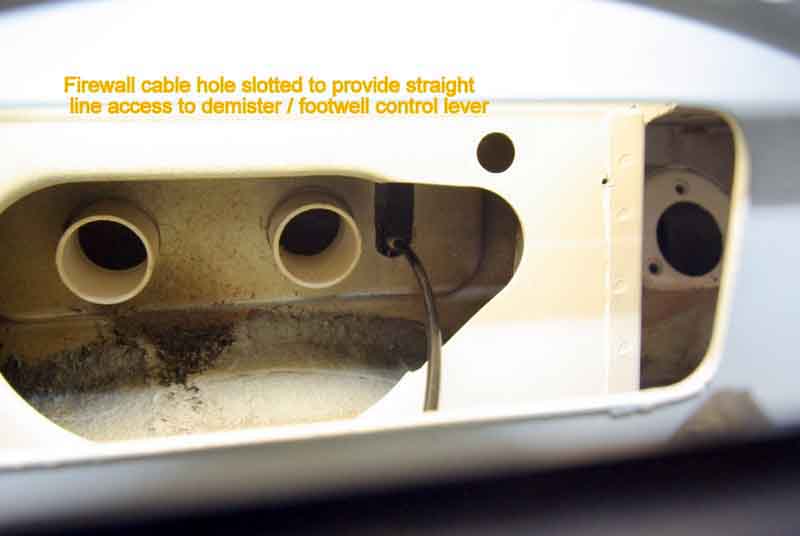
Add a cable clearance hole to the panel between the console and bulkhead:
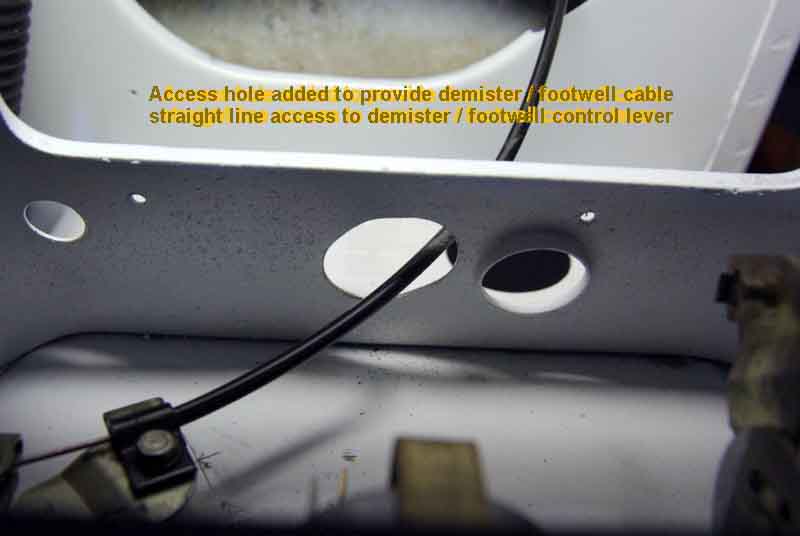
Swap the heater/demister controls left to right and rotate through 90 degrees such that the Off positions are horizontal. Demister assembly should now be horizontal. Heater assembly vertical. Both cables now make a smooth transition from the firewall to the controls:
Attach the heat cable to its console switch on the bench while swapping the controls left to right to permit access to the cable clamp and trunnion tightening bolts.
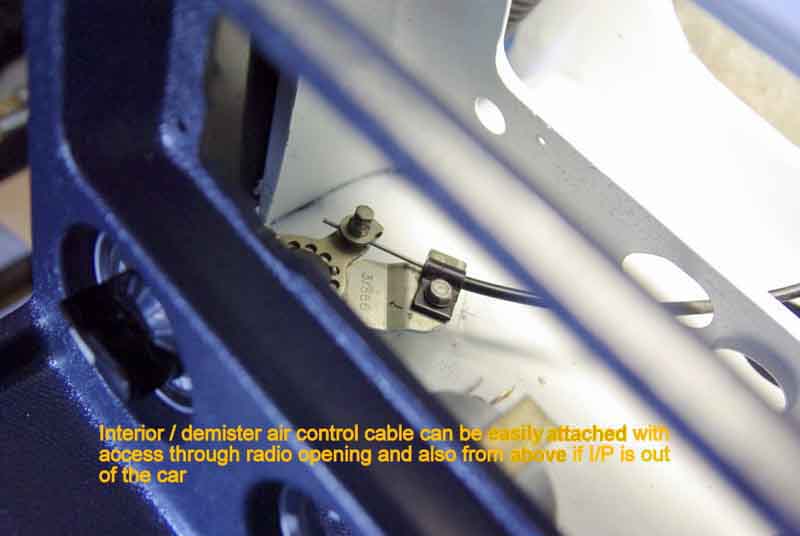
Demister/interior cable can be attached to console switch assembly with access through either the radio aperture (or from above before the I/P is fitted) to secure the cable clamp and trunnion.
Fit the console to the car while passing the heater cable forward into the engine bay for connection to the heater tap later on.
Finished result:
Note 1: It needs to be understood that the heater/demister cable length must be finalized early on. Fit and refit cable as required to align and establish inner and outer lengths. Initially attach a longer heater / demister cable to the heater box flap lever. The outer cable can then be removed and re-fitted as often as is required to establish cable length by guiding it in and back out along the inner cable.
Note 2: The demister tubes are my own improvisation, originally from an old vacuum cleaner!