by Herb Adler 5243 3409
I happened to buy a used SU HS2 carby on eBay for $20. It arrived and was quite grotty, with a lovely "old" patina about it, normally called corrosion.
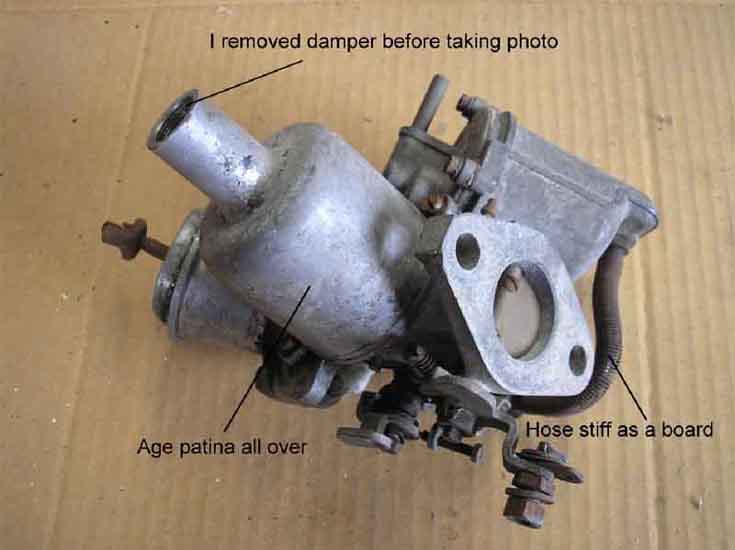
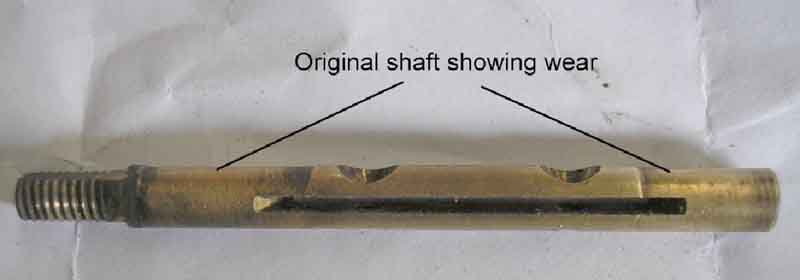
Dismantling it and the first obvious problem was that the shaft was badly worn.
After cleaning and polishing the carby, with elbow grease and a small wire brush, I bought a reconditioning kit, which included all parts that needed replacing.
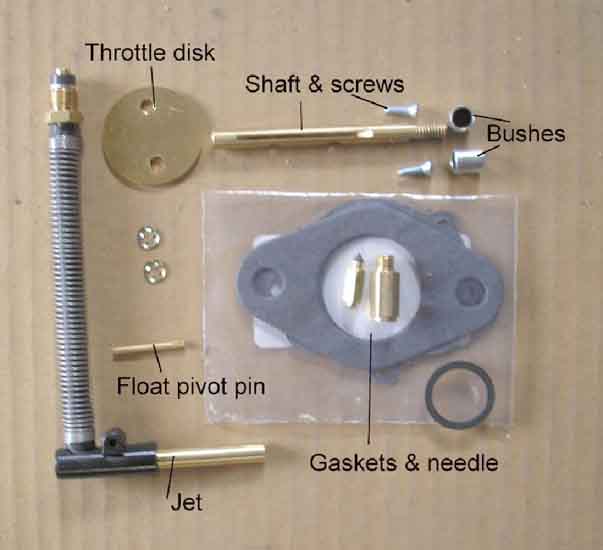
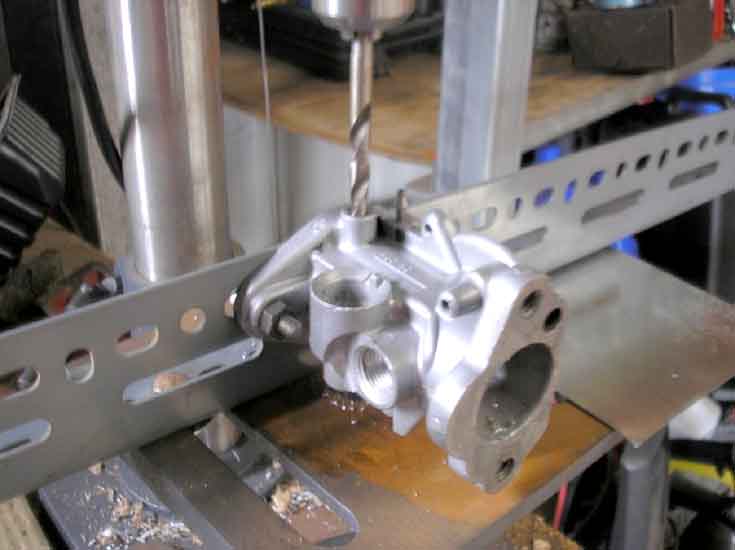
I bit the bullet and decided to fit the shaft myself, as the kit came with bushes, rather than an oversized shaft. I figured that if I really stuffed up it only cost me $20, and the kit could be used elsewhere. I set up the body on a piece of Unistrut, on my drill press, using a ¼" drill bit to align the shaft holes with the vertical axis of the drill press, using shims under the Unistrut, until the drill bit moved up and down without catching. Next I measured the OD of a bush and then selected a drill bit that was a hair's width smaller. Turned out to be a 5/16" bit. I drilled out the "top" hole and checked the fit of the bush. HORRORS, it was a loose fit, not very but also not the push in fit I was aiming for. As it turned out this was actually ideal. Oh well; find a smaller drill bit and drill the "bottom" hole. 7.8 mm did the trick. The bush wouldn't go in with finger pressure. Opened the hole slightly, using 400 grade wet & dry paper, wrapped around a drill bit shaft. The bush started to enter the hole, so I didn't go any further.
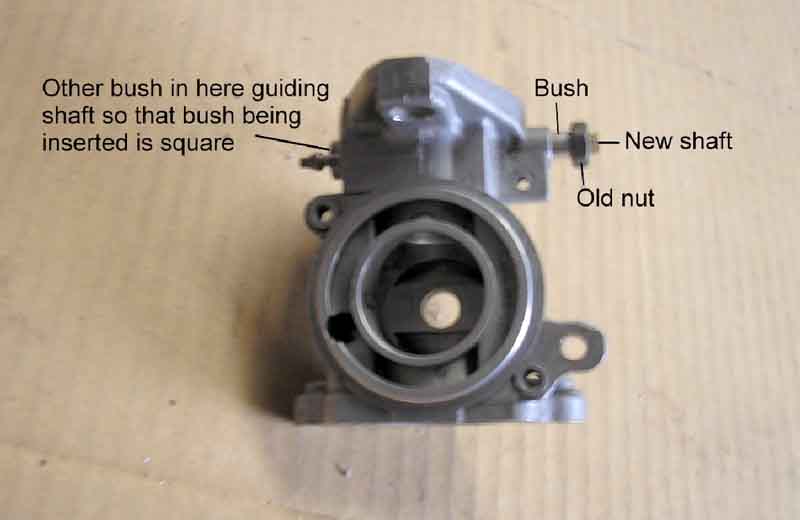
Now the serendipity of the oversize hole. To fit the bushes I inserted one in this oversize hole, so I could remove it later, and started the other in the tight hole, placing a smear of Loctite around the entrance point, then pushed it all the way in, with finger pressure, using the new shaft, with the lever retaining nut on it, as a guide and mandril. The loose bush kept the shaft and other bush aligned, during this process. After sufficient time for the Loctite to set, I removed the shaft and loose bush, then repeated the insertion process, with this second bush, except I used 5 minute epoxy, instead of Loctite.
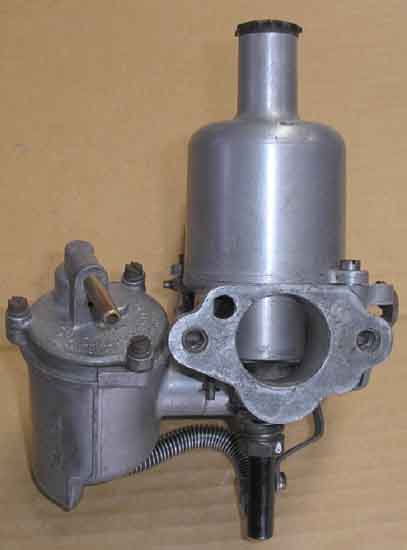
Using the correct spring and needle I reassembled it all, this is how it wound up looking.
I'm actually quite pleased with myself.
